Fabricating things are fun! It’s such a feeling of accomplishment as you eye your very own creation. It gives a sense of purpose. A feeling of accomplishment. A sense of “I aced it!”
And making something for your children is doubly satisfying as you see them look at their present and just light up.
So let’s do something entertaining for the kids. Let’s make them some kinetic sand. Here are three recipes that you can choose from.
What is the secret ingredient in kinetic sand?
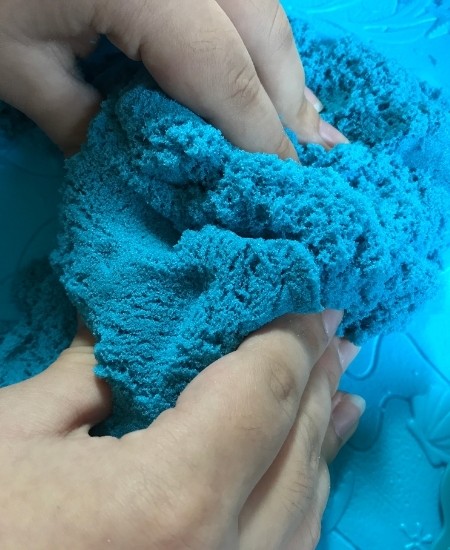
Kinetic sand is made up of 98% sand and 2% silicone oil. So we all know that beach sand doesn’t do what kinetic sand can do, ergo, it must be silicone oil. The silicone causes the sands weird characteristics. It sticks to itself but not to hands and clothes. It repels water. It creates perfect shapes from intricate molds. And it flows a bit like a semi-liquid through your hands.
Most of us don’t have silicone oil lying around the house, but there are other ingredients we can use. Let’s see what they are.
What is in kinetic sand that makes it stick together?
This is dedicated to all the science geeky people out there.
This type of kinetic sand is called a dilatant material. Also known as a non-Newtonian fluid. This means kinetic sands’ viscosity level (thickness) becomes higher as it is placed under more pressure or stress.
When we measure the resistance of a fluid, (see how fast it runs), we use the term viscosity levels. For example, waters’ viscosity level is lower than, let’s say, syrup. The faster it can flow, the lower the viscosity level.
Kinetic sand is one of those materials that increases its viscosity (dilatant material) or thickness under pressure or stress. And no, I don’t mean screaming at the sand and putting it under stress will cause it to keep its shape better. This type of stress means taking the substance and applying pressure to it. Like squeezing it in your hand.
Another example is by placing it in a mold, you cause the sand to be under pressure or stress. And that helps to give those beautiful sand art creations. When that artwork is taken out of the mold, it will look great but a few hours later it will become a pile of sand again because the pressure has been taken away.
You might remember making Oobleck in chem class. Oobleck is made by adding just enough water to cornstarch, and so also becomes a non-Newtonian fluid. If you punch the fluid, it feels solid. The punch being the stressor.
If you incase the Oobleck in cling wrap and place it on a horizontally leveled speaker, you can watch it dance and jibe. It’s great fun. Thank you Big Bang Theory for teaching me that neat trick.
Kinetic sand is like Oobleck, but stiffer, because sand is grainier than cornstarch. Now that we have the science of this recipe under the belt, let’s see how it’s made.
3 Kinetic sand recipes that actually work
Recipe 1 – let’s do this:
You’ll need these ingredients:
- The finest sand you can find. The amount you’ll need? This is up to you. If you want a medium-sized batch, use 18 ounces (500 grams)
- 0.35 ounce (10 grams) of Dimethicone 500 (polydimethylsiloxane)
You’ll need 0.07 ounce (2 grams) for every 3.5 ounces (100 grams) of fine sand.
For example, if you are going to make 35 ounces (1 kilogram) of kinetic sand, you’ll need 0.7 ounces (20 grams) of Dimethicone 500.
This is how you do it:
- First, place the sand in a baking pan and spread it out. You can allow it to dry overnight. Alternatively, you can bake it in the oven at 250 F (120C) for 3+ hours.
- The sand has to be very dry. So if need be, pop it back in the oven if it’s not dry. (A plus when baking the sand is that it gets sanitized.) Once it’s dry, allow it to cool off completely.
- Now sift the sand with a flour sifter to get rid of any little clumps and lumps.
- Mix the sand and Dimethicone 500. (Add a little more Dimethicone 500 if all the sand does not want to stick together.)
And now it’s playtime with your new toy. I mean, the kids’ toy.
Please remember to place the sand in a plastic bag or plastic sealed container when not using it. That way, you’ll keep it fresh and clean.
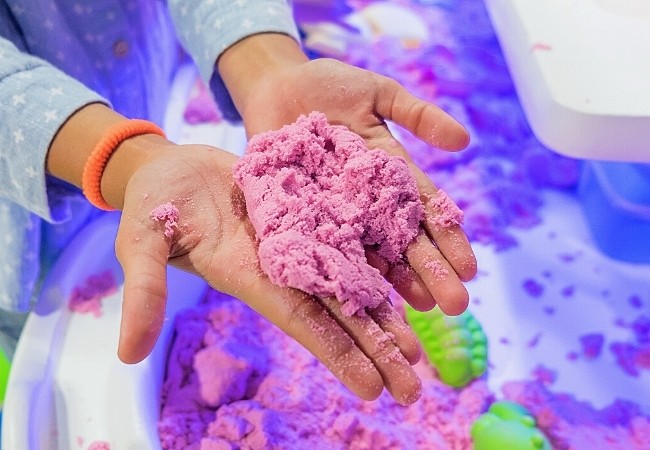
If you want to use colored sand, you can but it might interfere with the viscosity of the toy. But experiment. You might be pleasantly surprised.
Recipe 2 – let’s color it:

You’ll need these ingredients:
- 8.8 ounce (1 cup) of play sand or craft sand
- 0.5 ounce (2 teaspoons) of dish soap
- 1.25 ounce (2 tablespoons) cornstarch
- 4.4 ounce (½ cup) of school glue
- 2 drops of your favorite food color
This is how you do it:
- Mix the sand, dish soap, and cornstarch in a mixing bowl.
- Stir until it is well combined.
- Start to pour a little bit of the glue, 1 ounce at a time, into the sand mixture.
- Continue to mix and add the glue until the sand is well covered.
- Now add a few drops of food color.
- Knead it a few times with your hands.
And, just like that, you have colorful kinetic sand to play with.
Recipe 3 – let’s scent it:

You’ll need these ingredients:
- 50 to 70 ounces (5 to 7 cups) of fine play sand, or even better, fine craft sand
- 10 ounces to 15 ounces (1 to 1 ½ cups) of corn starch
- 1 tablespoon of dish soap
- 10 ounces (1 cup) of water
- Tea tree oil
This is how you do it:
- Make sure the sand is dry and clump-free.
- Mix the sand and cornstarch together in a large bowl.
- Once that is done, mix the water and dish soap. Stir it until you see bubbles.
- Now slowly pour the water mixture into the dry ingredients, mixing as you add it.
- Add a few drops of tea tree oil to add a lovely fresh smell to the sand. And for its antibacterial properties.
And now you have lovely, fresh smelling kinetic sand.
How do you make kinetic sand really work?
Use very fine sand. Make sure there are no clumps in the sand. Don’t add the fluids too quickly to the mixture as this could make the sand too flow-y.
And if it doesn’t work the first time, try again. You’ll get this. You’re a rock star, remember?